Transferring In Prescriptions
When a prescription is transferred into the pharmacy, it is a regulatory requirement and best practice to scan and attach the transfer report to the prescription record. The transfer details must be entered into the Extended tab of the prescription in case they need to be consulted at a later date.
To transfer in a prescription:
- Search for and select the correct patient.
- If they do not exist, a new Patient Folder must be created. For more information, see Create a New Patient Folder.
- Select the Profile tab.
- Review their medication record to determine if the transferred medication is a new medication or a refill.
- If the prescription is new:
- Select New. The New RX window opens.
- Enter in the prescription information and a Ready Time.
- Select Process. The Rx Detail window opens.
- If the prescription is a refill:
- Select the prescription.
- Select Refill. The Ready Time window appears.
- Enter an appropriate Ready Time.
- Select OK. The Rx Detail window opens.
- Enter in the new QA and the Qty.
- If the prescription is new:
- In the Rx Detail window, select the Extended tab.
- In the Transfer In section, select the expander icon.
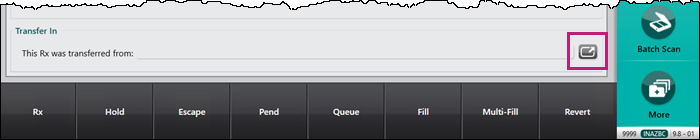
The Transfer In window opens.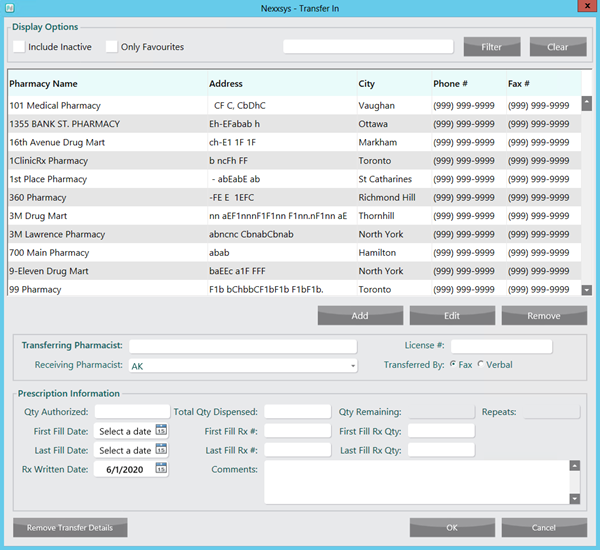
- Search for and select the Pharmacy Name of the pharmacy that sent the transfer.
- Use the Filter feature to help search for a pharmacy.

The Transfer In window can be filtered by:
- Pharmacy Name
- Address
- City
- Phone #
- Fax #
- If the Pharmacy Name does not appear, select the Include Inactive checkbox to see if the pharmacy is set as inactive.

- If the Pharmacy Name does not exist, a pharmacy record needs to be created. For more information, see Creating a New Pharmacy.
- Use the Filter feature to help search for a pharmacy.
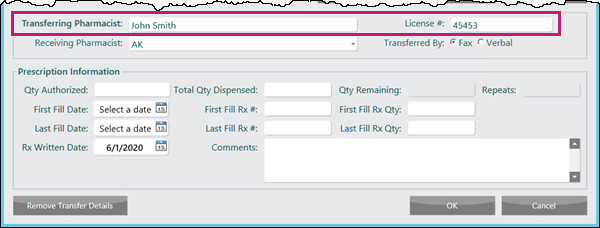
- In the Transferring Pharmacist and License # field, enter the transferring pharmacist name and their license number, respectively.
- Enter information in the Prescription Information section with the information from the transfer report.
- Qty Authorized and Total Qty Dispensed are mandatory fields.
- Qty Remaining and Repeats are automatically calculated.
- First Fill Rx#, First Fill Rx Qty, Last Fill Rx# and Last Fill Rx Qty are optional but it is best practice to enter the information to ensure complete dispense history.
- Select OK. The Transfer In window closes to the Rx Detail > Extended tab.
- Select Fill to process the prescription.
Note: If more than one prescription is transferred in, the selected Pharmacy, Transferring Pharmacist and Receiving Pharmacist information is populated for subsequent prescriptions. Prescription Information must be entered for each prescription.